
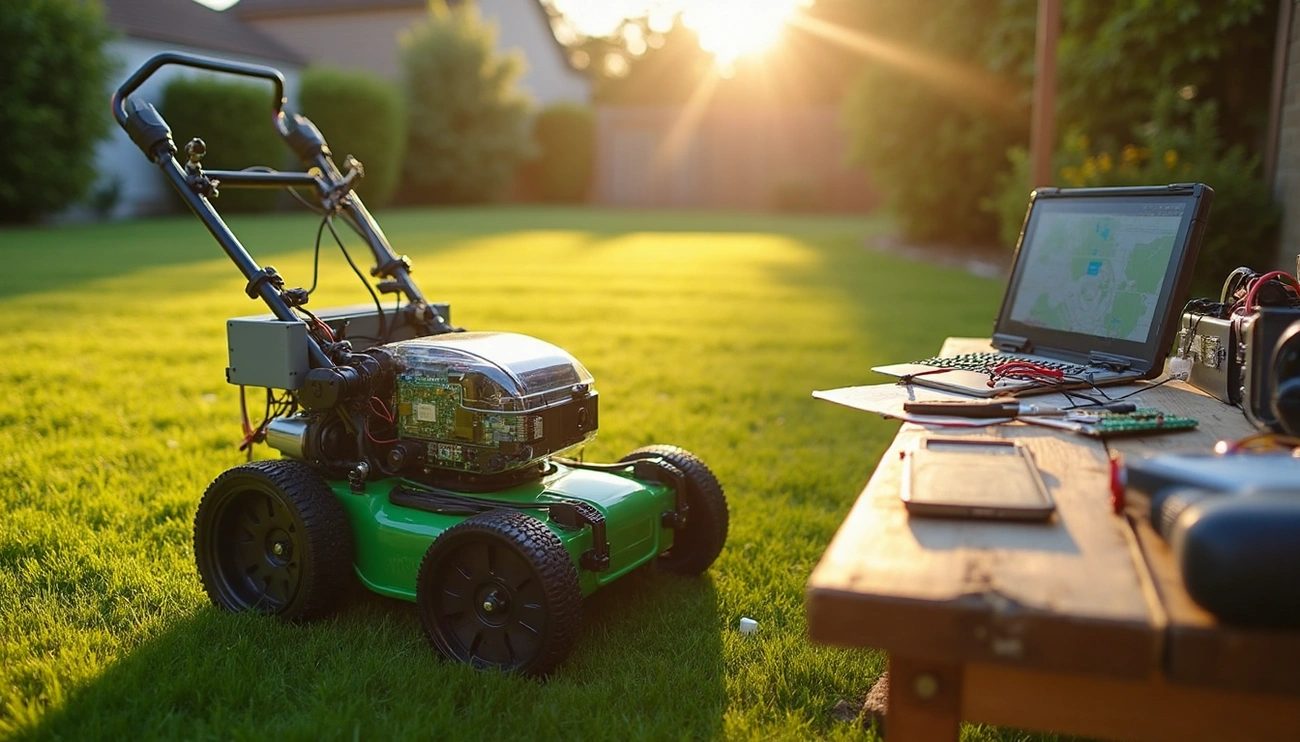
The routine task of lawn mowing affects 64 million American homeowners. Tech-savvy homeowners now turn to DIY remote control lawn mowers to get their weekends back. Clemens Elflein’s OpenMower project shows how a €400 basic mower can become an autonomous machine that handles complex lawn layouts with ease.
Building your lawn mower saves time and brings many benefits. Howard Taylor’s complete 30-part video series documents his lawn mower build and shows creative solutions to common challenges. Raspberry Pi microcomputers help modernize existing mowers like the Toro Z-Master Z400, which makes the project more available to newcomers. These builds pack impressive technology. They use live positioning and GPS-guided navigation systems that follow preset routes accurately. This piece will show you how to build a remote control lawn mower that matches your yard’s unique requirements.
Planning Your DIY Remote Control Lawn Mower
Good planning saves time, money, and headaches before you buy any components. Building several DIY remote control lawn mowers taught me that success comes from solid preparation.
Choosing the right base mower
Your project’s foundation starts with picking the right base mower. Look for models with all-metal construction at the front wheel attachment points. Plastic parts won’t hold up well enough to support caster wheels. Stay away from mowers with manual choke/primer systems. Instead, pick ones with electric start that work with 24-volt systems.
The cost ranges from $200 to $ 700 based on your approach. One builder got a new mower from Craigslist as part of a $600-700 total build. Another smart builder spent just $200 by using a used mower and free power chair parts.
Understanding your lawn layout
Your lawn’s features will shape your design choices. Check slope steepness carefully. Some commercial remote-controlled mowers can tackle inclines up to 60 degrees, but your DIY version might not match that.
Trees and roots can trap or damage your mower. Make sure trees have at least 70 centimeters of space behind them. Lawn edges need extra attention too. Low-height edging lets the mower cut right to the edge without hurting the blades.
Deciding between a full build vs an update
Your skill level, budget, and time will guide this choice. A full build lets you customize everything but needs more technical know-how. Clemens Elflein took a middle path. He started with an off-the-shelf robotic mower (€400) and updated it with custom electronics. This kept the waterproof housing while adding custom features.
Updates need less fabrication work. Both approaches can use parts from power wheelchairs and mobility scooters. These give you great motors, wheels, and sometimes batteries. The parts are reliable, easy to find on eBay, and their 24-volt systems work great with lawn mower electronics.
Building wooden prototypes before working with metal can save you lots of time and money.
Essential Components and Tools
The right components are the lifeblood of any successful DIY remote control lawn mower project. My years of building these machines taught me exactly which parts will transform your weekend project into a lawn-maintaining powerhouse.
Microcontrollers: Raspberry Pi and Arduino
Your mower needs a reliable and adaptable brain. Arduino boards excel at translating RC signals to motor controls, particularly with pulse-position modulation (PPM) to pulse-width modulation (PWM) conversion. Builders typically use ATmega168 microcontrollers on simple breakout boards that cost around $12 each. A Raspberry Pi provides extra computing power and connects with cameras and sensors to boost functionality.
Motors and motor drivers
Power wheelchair motors lead the pack thanks to their durability and torque. You’ll find great deals on Jazzy chair motors or Pride mobility motors on eBay. Motor controllers play a vital role—the Sabertooth 2×25 remains popular despite its $350 price tag. DIY H-bridge controllers can be built using FQP47P06 p-channel and FQP50N06L n-channel MOSFETs. Brushless DC motors deliver high-speed rotation (2,000–3,000 RPM) and last longer than DC brush motors.
GPS and navigation modules
Today’s DIY mowers use GNSS modules to navigate precisely. These systems enable centimeter-level autonomous planning paths. Your mower can follow preset routes automatically, and you can set up virtual boundaries through a mobile app instead of physical barriers.
Remote control systems
Hobby RC transmitters and receivers are the foundations of remote operation. The transmitter encodes control stick positions and sends them to the receiver using pulse-position modulation. Failsafe mechanisms protect your investment—a secondary microcontroller can control an emergency power relay.
Power supply and batteries
Almost any 12V car or marine batteries work well, but high amp-hour ratings (18–22Ah) give the best results. You can connect two batteries in series for 24V operation to get more power and speed, or parallel them for extended runtime. Trickle chargers help maintain battery levels between mowing sessions.
Chassis and frame materials
Steel creates the most robust frames—2″ angle iron might seem like overkill, but it builds a structure strong enough to support a rider. Aluminum provides a lighter option with plenty of strength. The chassis connects everything and shapes how your mower performs.
Step-by-Step Lawn Mower Build Process

Let’s build your DIY remote control lawn mower. The joy of watching your creation spring to life makes this challenging project worth every effort.
1. Preparing the base and frame
Start by creating a wooden mock-up of your chassis. This saves metal and helps avoid mistakes. The frame needs 2″ angle iron that provides structural stability, though some might call it excessive. A lighter alternative is 1×1″ steel tubing. Your main focus should be a narrow width that lets you mow against edges while maintaining proper weight distribution—you want 70% weight on drive wheels. The base mower needs stripping down. Take off the wheels, handle, and control cables.
2. Installing the motor and drive system
Power wheelchair motors give you the right torque to navigate lawns. You can mount these motors through existing mower handle holes using a 5/8 threaded rod. Small-angle iron and U-bolts work too. Mobility scooter wheels fit perfectly, but they need proper mounting to protect the motors. A gasoline engine setup could include an alternator that enables self-charging. This means unlimited runtime with available fuel.
3. Wiring the electronics
An insulated board should hold all components instead of the metal chassis. This prevents shorts. A physical kill switch is a vital safety feature. Your batteries should be high amp-hour models connected to buck converters—one 12VDC and one 5VDC—that power various components. The motor controller connects to the receiver and motors based on the manufacturer’s specs. The positive battery lead must have a 60-amp fuse.
4. Setting up the control software
Your controller choice determines the software needed. Arduino-based systems need code that turns RC signals into motor commands. Raspberry Pi setups require specific libraries if you’re using GPS navigation. Node.js typically handles the server-side code. The motor controller’s DIP switches need proper settings—most builders prefer exponential steering over tank steering.
5. Testing basic movement
Before full deployment:
- Test with batteries disconnected first
- Check all wiring connections
- Power up systems individually
- Test basic forward/reverse movement
- Verify emergency stop functionality
The controls take time to master. Builders often need practice to achieve smooth turns and steady straight runs. Begin with slow speeds in a controlled space before you start actual lawn mowing operations.
Navigation, Mapping, and Safety Features
Your DIY remote control lawn mower needs smart navigation and reliable safety systems to reach the next level. After you complete the simple build, add the brains and sensors that will make your mower work on its own.
Using GPS for route planning
Advanced mowers can utilize RTK-GPS technology for centimeter-level precision. RTK (Real-Time Kinematic) positioning outperforms standard GPS by using a fixed reference station to correct errors, which results in pinpoint navigation. The ideal location of your reference station matters most during setup—it must stay fixed after you create boundaries.
Your GPS should enable straight-line navigation instead of random movement to optimize efficiency and cut down mowing time. GPS-guided mowers prove their worth by working reliably in all conditions—day or night, rain or shine.
Adding ultrasonic sensors for obstacle detection
Ultrasonic sensors work by sending high-frequency sound waves that bounce off objects. These sensors measure distances based on echo return times. Mount these sensors on your mower’s front, facing outward and slightly above ground level. This placement prevents false readings from the terrain.
The best detection requires:
- 220-kHz transducers that reliably detect short-range objects (around 15 cm)
- Multiple sensors at different angles for complete coverage
- Millimeter-wave radar that spots smaller objects like pinecones and rocks
In spite of that, ultrasonic technology shows limits, especially when you have objects that absorb sound waves, such as bushes or flowers.
Creating a virtual boundary
Virtual boundaries make perimeter wires obsolete compared to commercial robotic mowers. You can set these boundaries by steering your mower clockwise around the lawn perimeter while your control app records waypoints. Later, you can fine-tune these points to perfect the boundary.
You can mark “stay-out zones” by driving anti-clockwise around areas your mower should avoid. This feature protects flower beds, trees, or decorative elements without physical barriers.
Failsafe and emergency stop mechanisms
Safety stands above all else in DIY remote control lawn mower builds. A complete safety system needs an emergency stop button that cuts power to motors directly, regardless of software status. Wireless emergency stops also let you halt operations instantly from a distance.
Build your system with backup options—the mower should default to safe mode if any safety component fails. The system should also shut down automatically when it loses radio signal or moves beyond its 900-foot range.
Conclusion
DIY remote control lawn mowers blend weekend hobby projects with practical time-saving solutions perfectly. This piece explores everything from picking the right base mower to adding sophisticated GPS navigation systems. The satisfaction of watching your creation maintain your lawn makes the whole ordeal worth it.
Good planning and careful component selection mark the start of this project. Power wheelchair motors deliver exceptional torque while Arduino or Raspberry Pi systems provide useful machine control. The right safety mechanisms help your creation run without risks to people, pets, or property.
New builders should start by updating an existing mower rather than attempting a complete build. This method lets you utilize existing waterproof housings and customize functionality based on your lawn’s needs. The goal extends beyond creating a working mower – you need one that matches your lawn’s unique layout.
Budget plays a key role throughout the project. Costs range from $200 to $ 700 based on your approach and component choices. Parts from used mobility scooters or power wheelchairs can cut expenses by a lot while delivering resilient performance.
DIY mower technology advances faster now. RTK-GPS systems enable centimeter-level precision, and ultrasonic sensors detect obstacles reliably. Dedicated hobbyists can now access these capabilities that expensive commercial products once monopolized.
Building several remote control mowers taught me that patience matters most. The build process involves some trial and error. The learning curve might look steep at first, but freedom from weekly mowing makes every challenge count. Your weekends will belong to you again, not your lawn care schedule.