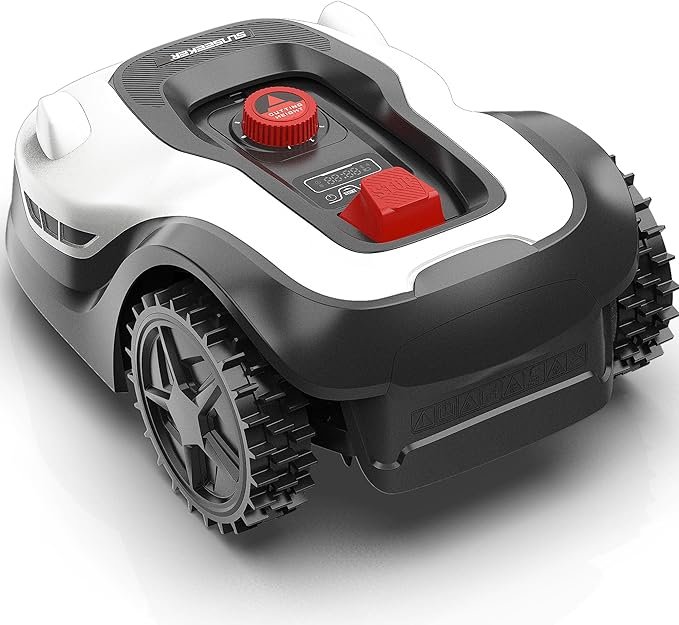
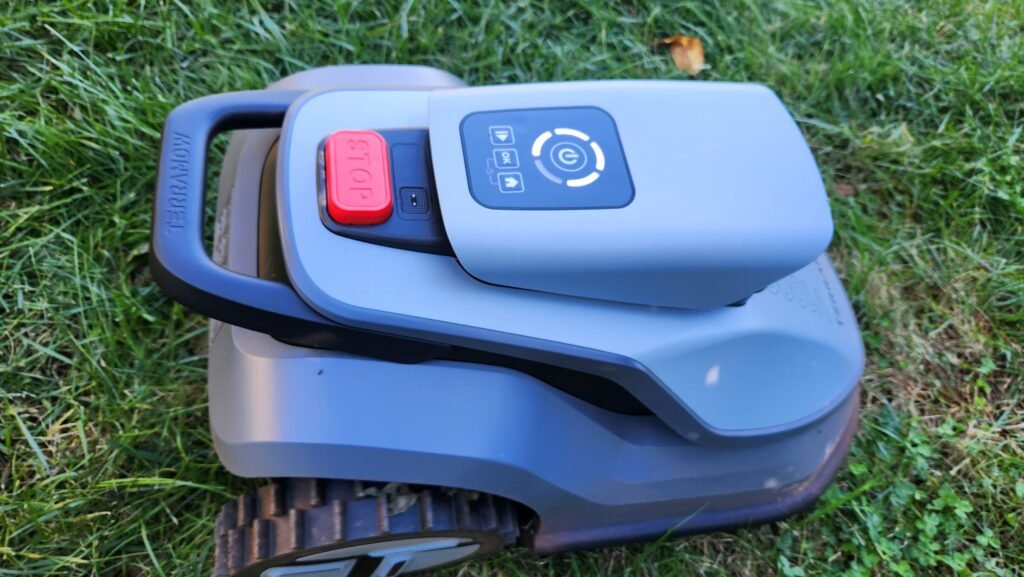
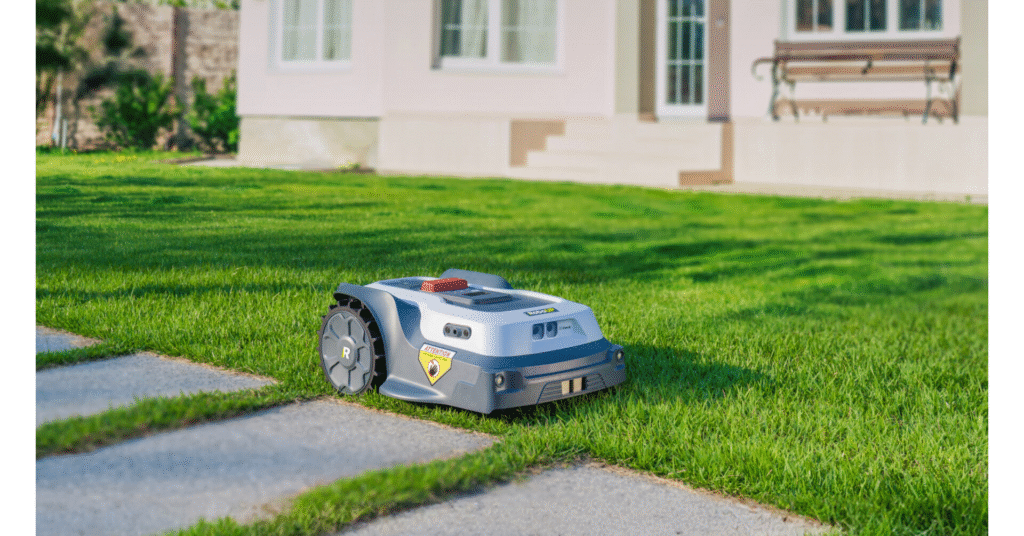
The Sunseeker L22 Plus robot lawn mower is a popular model and one that can be fully installed by virtually any homeowner.
If you’re new to robot mowers, you may be a bit worried about doing the installation yourself. But there’s no need to worry and you can easily accomplish the installation with only a few simple hand tools.
To help you out, we’ve included the complete instructions below for how to install the Sunseeker L22 Plus robot mower.
We’ll take you through the unboxing all the way through until your first cut using your new mower.
Step 1 Gather Your Tools
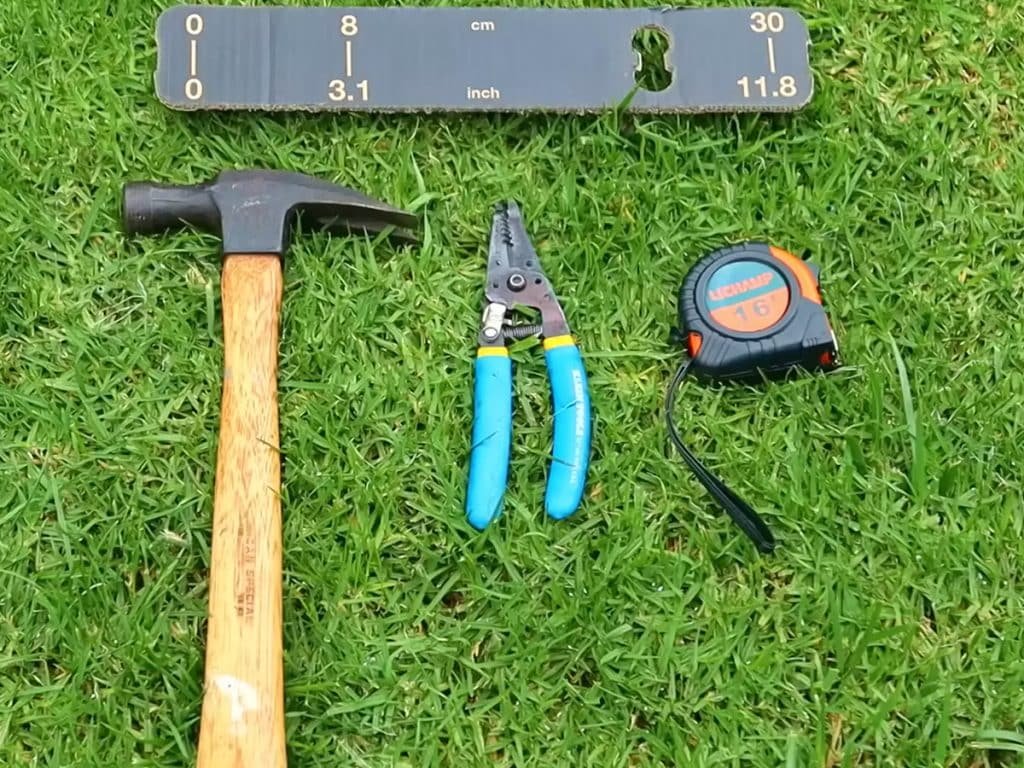
There’s a good chance you already have the tools you need to install your Sunseeker mower.
Before you begin, make sure to gather the following tools necessary for the installation.
Medium-sized or larger hammer: This will be used to drive the stakes into the ground when installing the perimeter wire.
Wire strippers: These will be used to trim the ends of the wires so they can be connected to the charging base of the mower.
Tape measure: Use this for making various measurements during the installation process.
Cardboard ruler: This is included with the mower and is used to ensure the charging base is spaced properly in relation to your home. You can find it during the unboxing process, which we’ll cover next.
Step 2 Unboxing
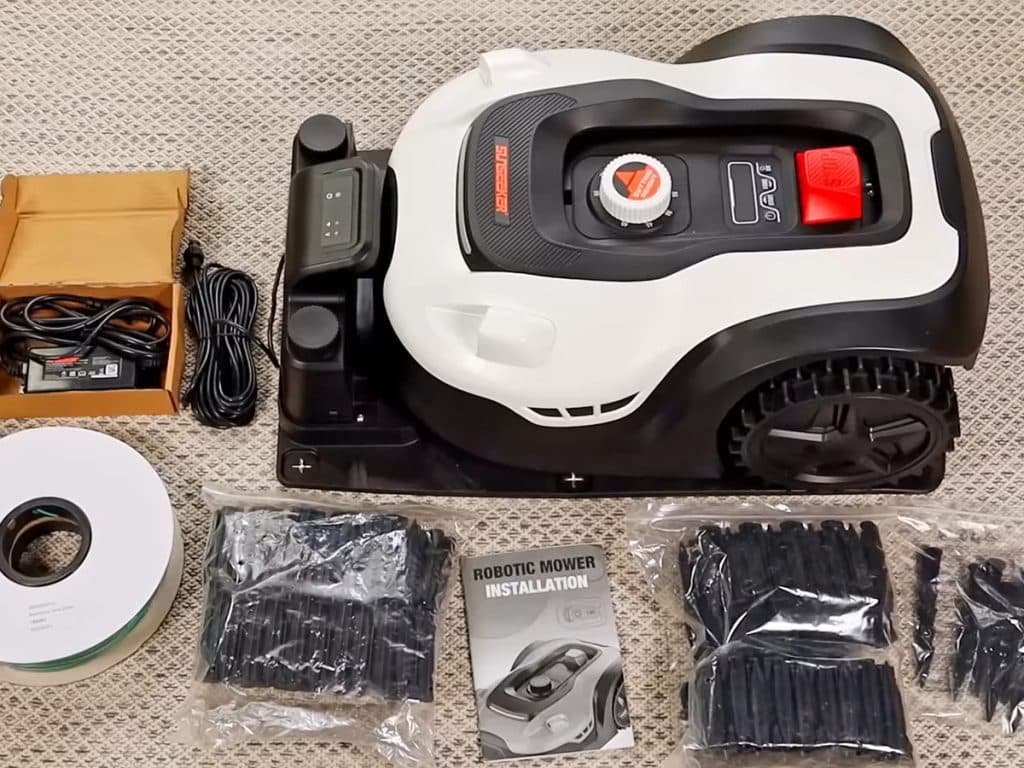
With your tools ready, you can unbox the mower and all of the components. Carefully remove all packaging and place all the components in the area where you will be begin the installation.
In total, you should have the following items when the unboxing is complete.
- Mower and charging base
- Spool of perimeter wire
- Stakes to secure perimeter wire
- Stakes to secure charging base
- AC adapter and power cables
- Cardboard ruler
- Instruction manual
Confirm you have all the materials and you can then move on to the next step.
Step 3 Place Your Charging Base
Find an area of level ground near your home’s exterior wall to place the charging base.
You’ll notice the charging base has a line down the middle separating the two halves. One is labeled “Out” and the other is labeled “in”.
Place the charging base so the “out” half faces your exterior wall. The “in” half should face the grass or the majority of your lawn.
The “out” half of the base needs to be at least 11.8 inches from the exterior of the lawn. This is needed so the mower can turn when exiting the base.
Use the cardboard ruler included to ensure there are 11.8 inches or more between the exterior wall and the charger base.
Step 4 Connect The Perimeter Wire To The Base
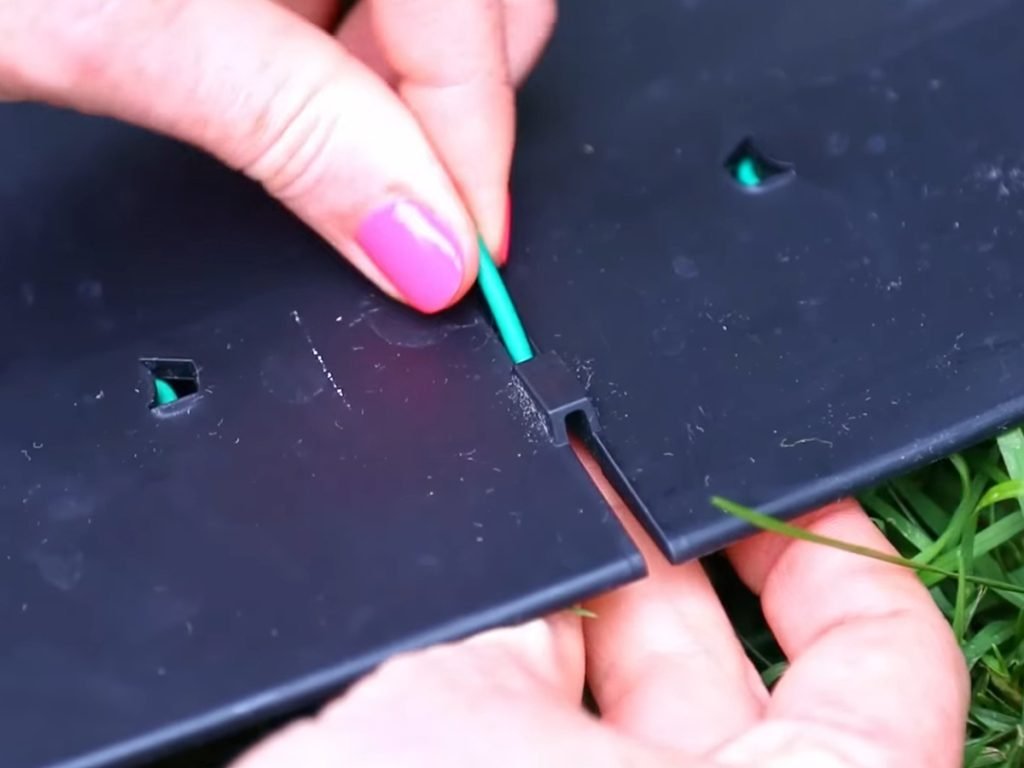
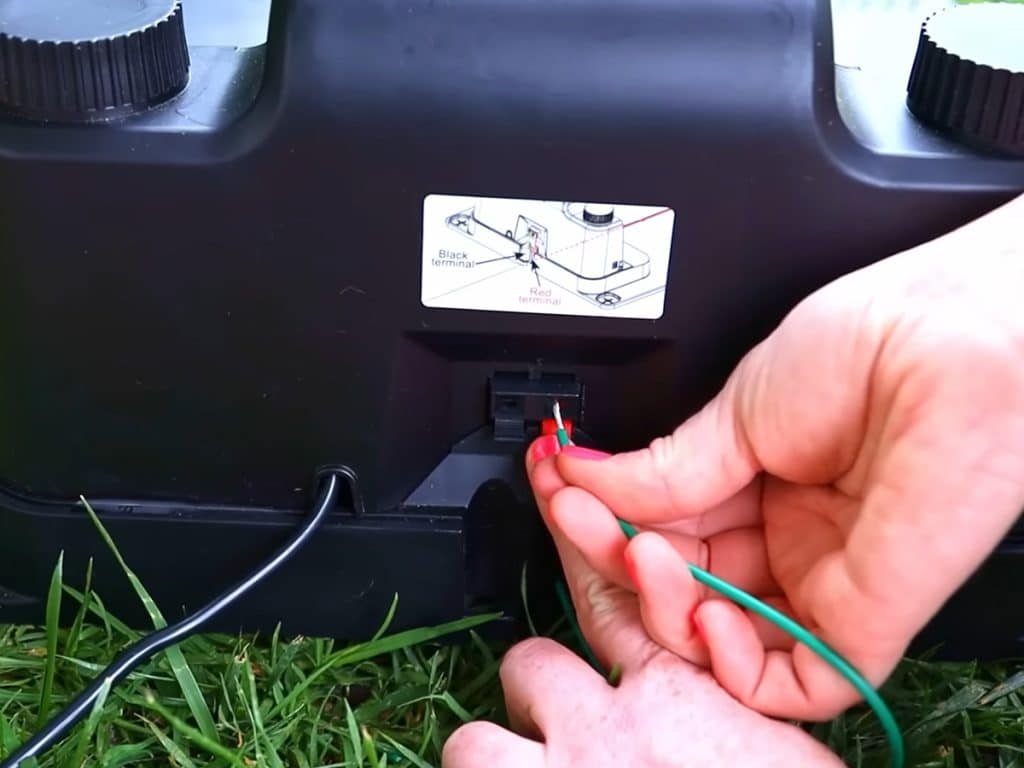
Take the loose end of the perimeter wire and thread it through the bottom of the charging base. There is a groove molded into the base. Start at the front and thread the wire toward the rear of the base
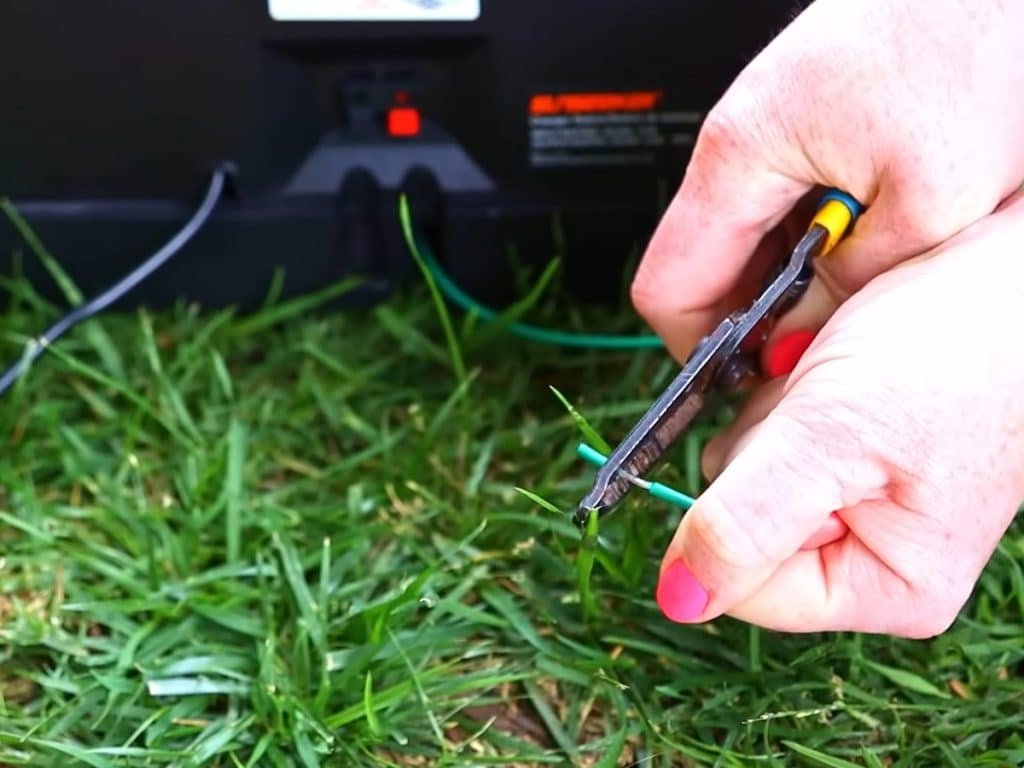
When the wire is threaded to through the back of the base, use the wire strippers to remove about 1/2 inch of insulation from the wire. Lightly twist the exposed metal wire to prevent any frayed ends and insert it into the red terminal.
Gently press down on the red lever and insert the tip of the wire, then release the lever.
With the wire connected, tidy up the wire by securing it to the middle groove using the molded channel and small clips attached to the base. Ensure the wire is straight and tidy and exiting the front of the base.
Step 5 Installing The Perimeter Wire
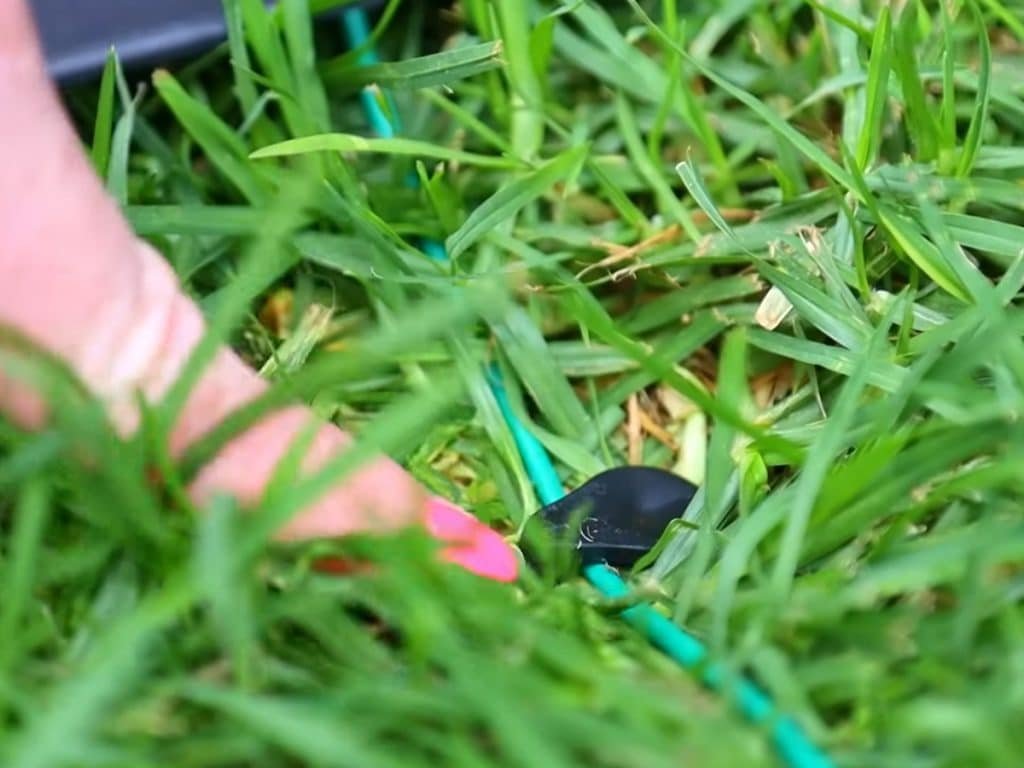
Locate the perimeter stakes and grab a single one to begin the wire installation.
The stakes have a small hook that will go over the wire when you hammer it into your lawn. Place the first stake with the hook over the wire a few inches from the front of the base. Hammer in the stake until it is tight with the surface of the lawn.
The top of the stake will be visible but over time the grass will grow around it and hide the stake and the wire. Avoid pounding the stakes below the surface of the lawn.
Step 6 Roll Out Your Perimeter Wire
Begin rolling out your perimeter along the border you’ve chosen. The first 3 feet need to be straight with no curves.
Place a second stake at the 3-foot mark using your tape measure as a guide. Use the cardboard guide to ensure the wire is 11.8 inches away from any walls, bushes, or other obstacles.
Continue rolling out your perimeter wired along your chosen border. Each subsequent stake needs to be placed every 31 inches.
If you encounter uneven areas along the path, place a stake every 3.1 inches until the path straightens out, and return to placing a stake every 31 inches.
For curves or other obstacles, remember to maintain 11.8 inches from any obstacle or border perimeter. Use the cardboard ruler to maintain the correct distance.
When your perimeter path is complete, the wire will reach the rear of the charging base.
Step 7 Creating an Island
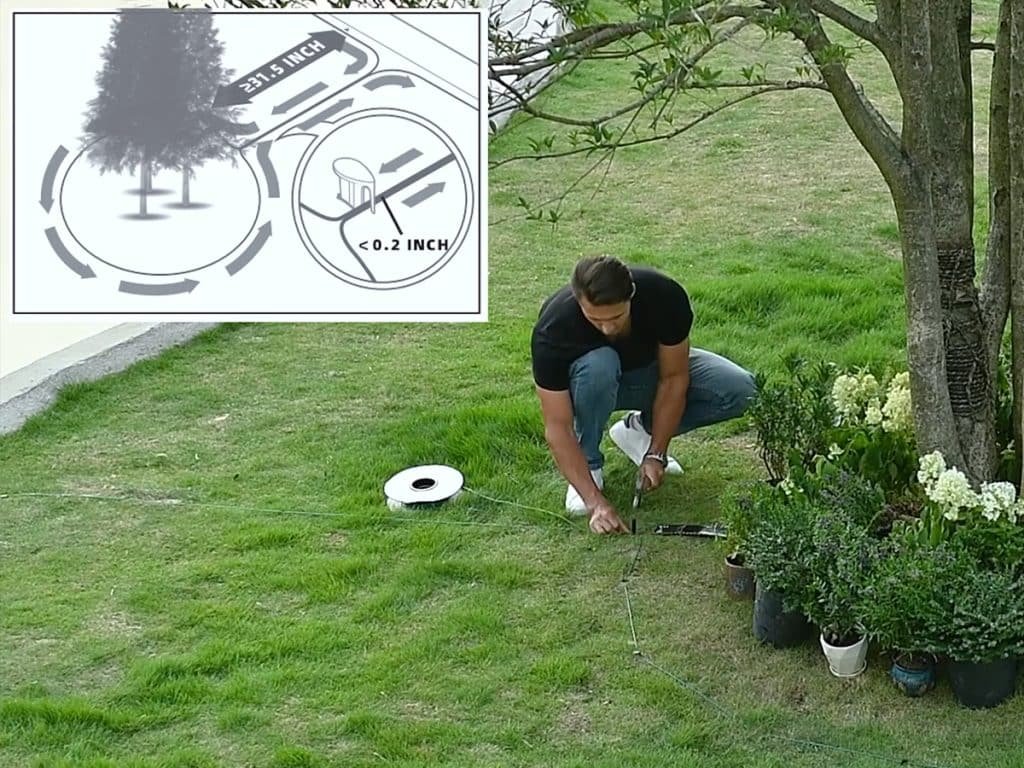
If you have piece of your lawn you don’t want to mow, such as a playset or garden or bushes, etc, you can create an “island” and exclude the mower from that zone. Do this by running the wire 90 degrees from the boundary edge straight to the exclusion zone. Create an island by running the boundary wire in a circular shape around the area until you reach where you started. Then just run the wire straight back to the edge before continuing to set the boundary.
Because the wire is flexible, you can make your boundary and exclusion zones almost any shape you want. The only things you need to avoid are creating corners that are less than 90 degrees.
Step 8 Connect the End of the Perimeter Wire To The Base
Connect the final end of the wire to the base in the same way you did before. But this time, insert it into the black connector.
Step 9 Connect The Power Cord
Connect the power cord to the base charger by attaching the two ends. Make sure it is securely connected then use the threaded cap to cover the connection.
The power indicator light should come on showing that the unit is receiving power.
Step 10 Secure The Base
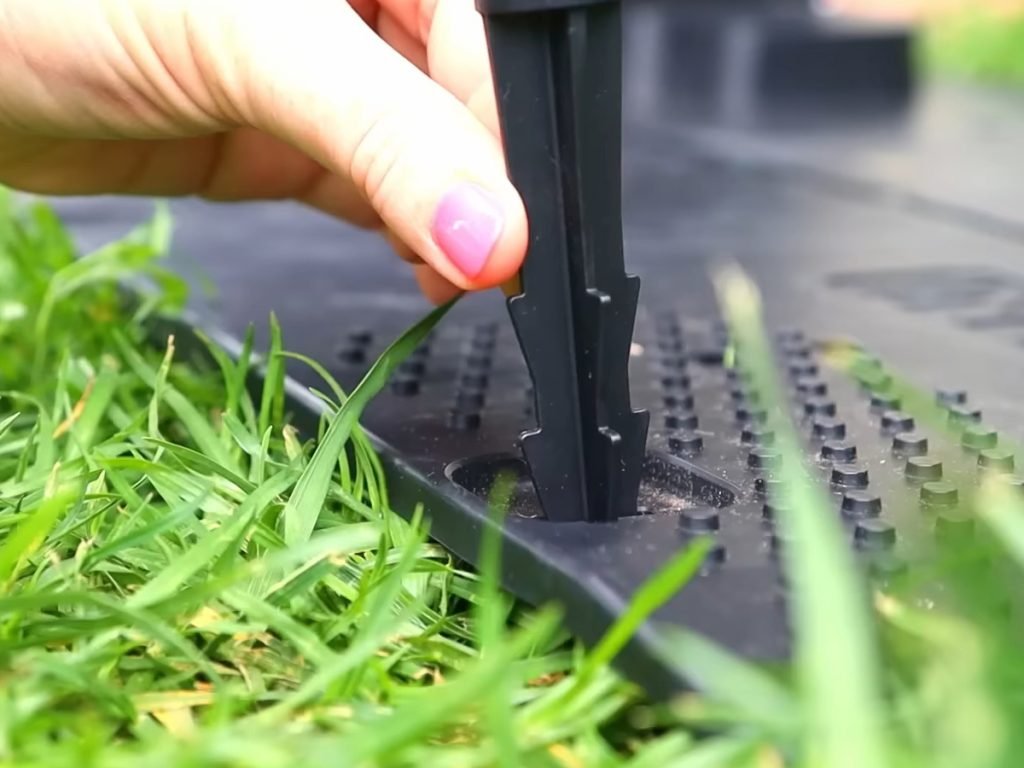
Use the larger base station stakes to secure the charging station. There are six stakes and the base station will have a recessed area molded where the stakes need to go.
Hammer them in until the tops are secure to the base.
Step 11 Install The App
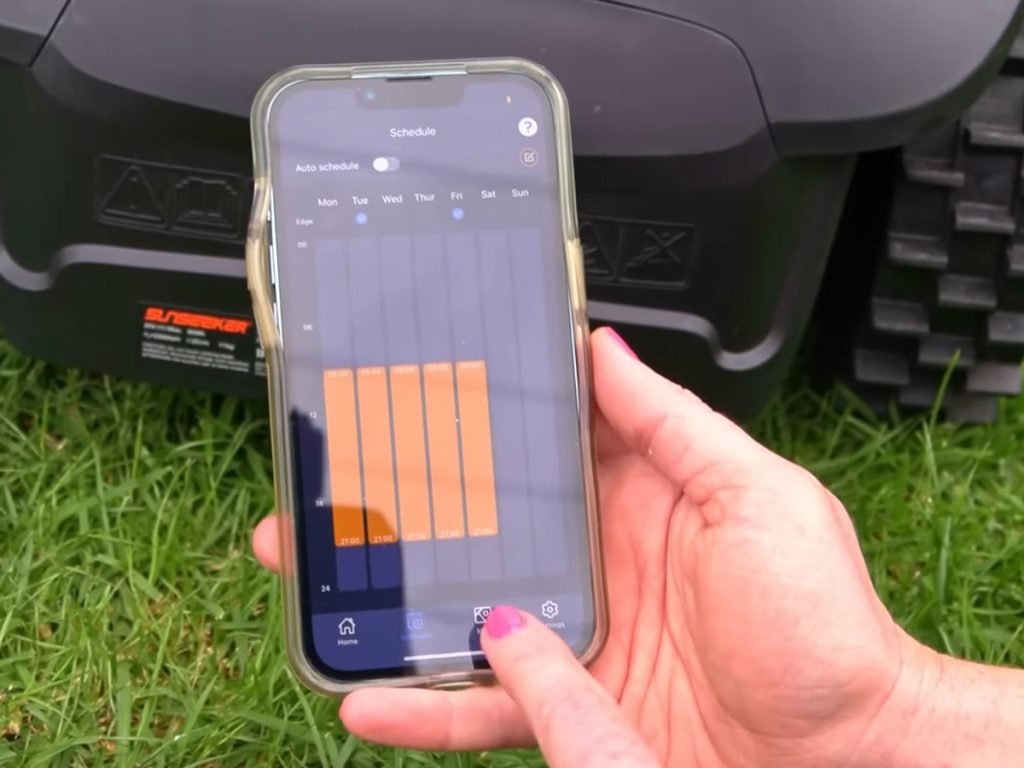
Use your smartphone to scan the QR code in the instruction manual. This will take you to the app installation page.
From here, you install the app just like any other app. Follow the onscreen instructions to set up your email and confirm your device.
Make sure to follow all on-screen prompts and instructions to complete the installation.
Step 12 Connect Mower To The App
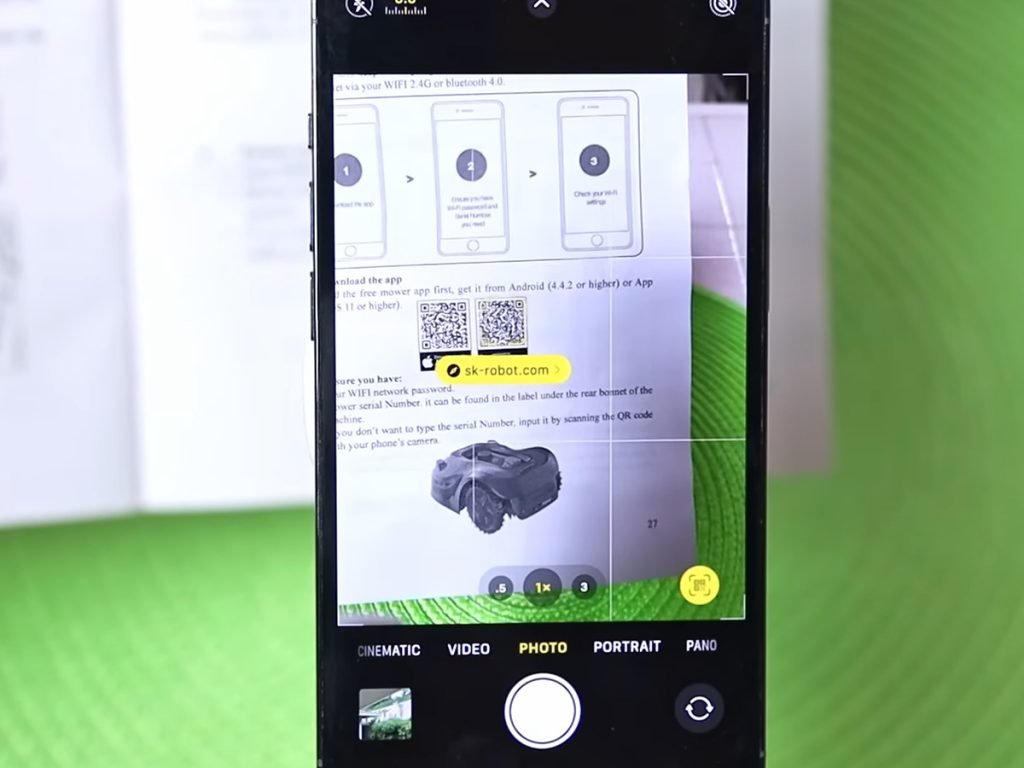
When the app install is complete, scan the QR code on the mower.
Then press the power button on your mower and press the OK button four times. This will reset the password to 0000 and connect it to the app.
Once the app and mower are connected, you can change the password.
Step 13 Use the App To Begin Mowing
Once connected, you can use the app to change various options and set a schedule for the mower if you like.
Choose your options then tap on the start button to have the mower begin. Depending on the power level, it may need to charge first.
You’re All Set
At this point, you should be all finished with the installation. You may want to familiarize yourself with the app and different options before setting the mower off on its first lap around your lawn.
Questions?
If you have any questions about setting up your Sunseeker robotic mower, put them in the comments below and we’ll answer soon.

