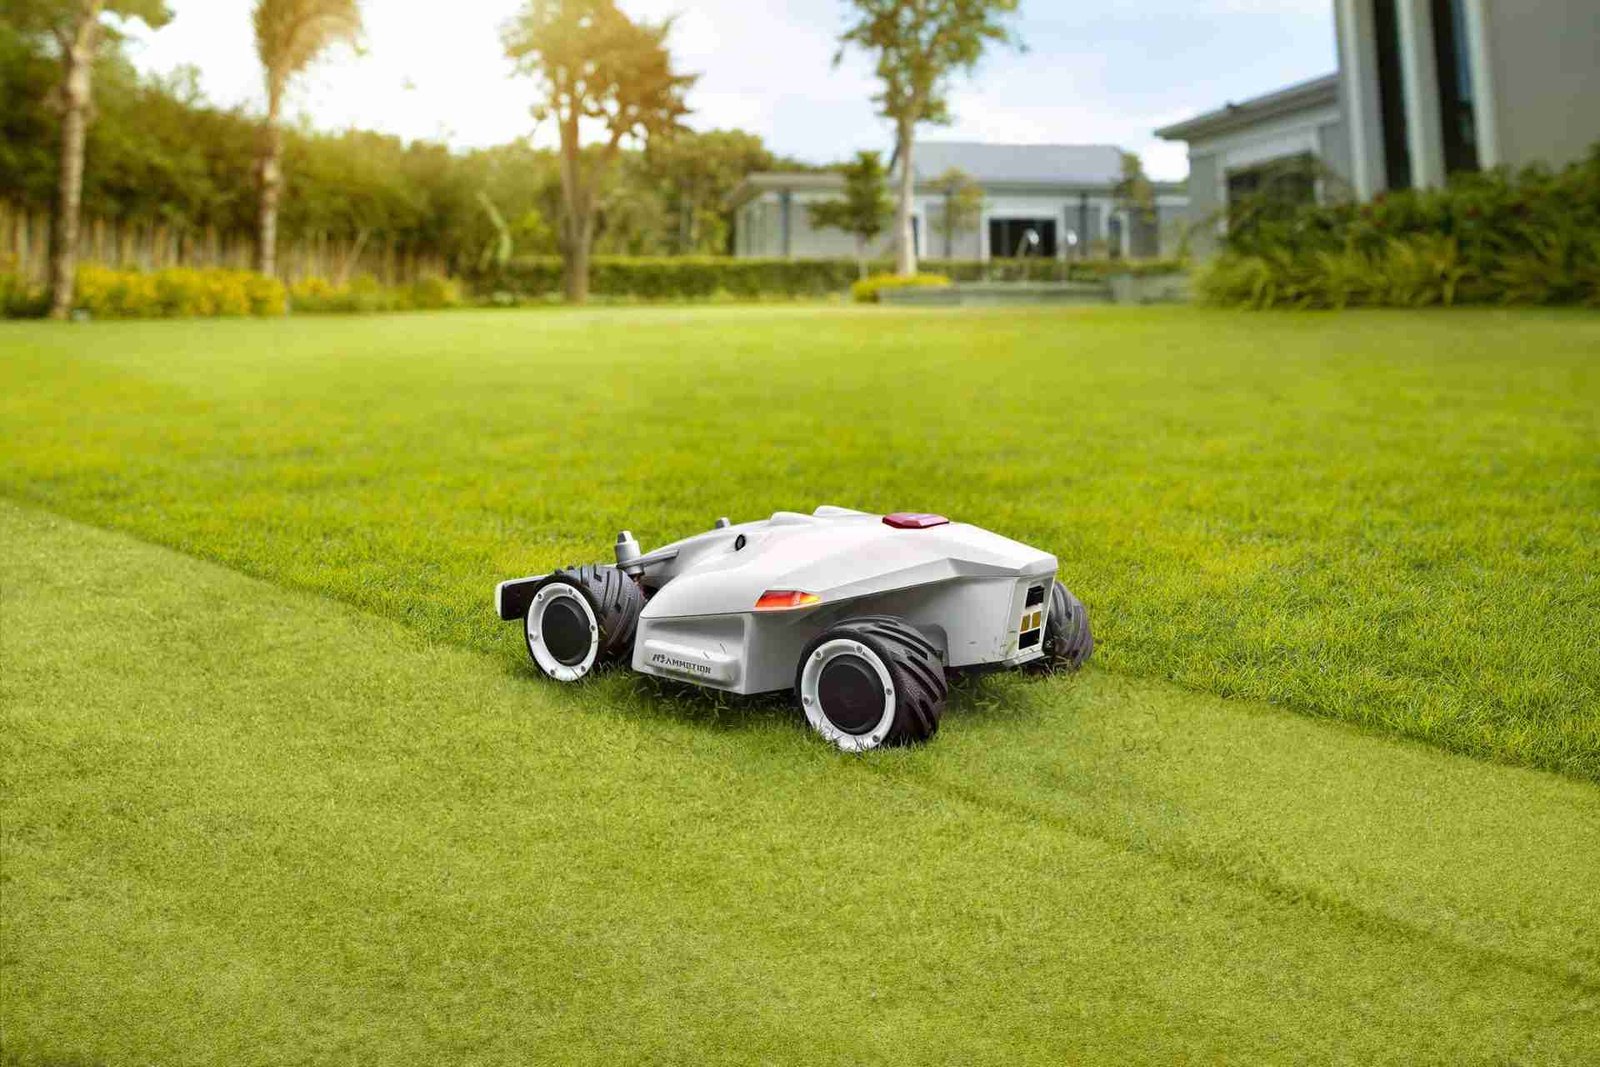
Today we’re going to go over how to install a robot mower boundary wire. You are probably familiar with what a robot mower is by now if you’ve stumbled upon this article. But if you’re not, then are you familiar with those little circular vacuums that you turn on and then they vacuum the house all by themselves? A robotic lawn mower is essentially the same thing except for your lawn. If this is your first robot mower, or you’ve been using one for years but have not done an installation then this article is for you. We’ll take you down the line step by step and show you that the installation of a robot mower boundary wire can be a 1-2-3 process!
Is the Installation Difficult?
With any project that deals with a little mechanical ingenuity and basic wiring comes some level of difficulty. But if one follows these steps accordingly then the process will be much easier if not entirely straightforward. One thing to get out of the way right off the bat is that you can be rest assured in knowing that it’s a one person job. You can get this done all by yourself. Another thing to note is that the wiring is all done above ground and just requires some placement with pegs. There isn’t much hands on gritty work involved. With that in mind, check out the steps to install below!
Step One: Place the Charging Station
The first step in involves the very important charging station. This part helps to power the robot mower and pretty much gives the entire device power in an ongoing fashion. Look at this part as the heart of the robot mower. Once you get this in place you’re one fourth of the way through.
Head over to the cutting area, this will be the spot that you cleared to put for the robot mower. You’ll want to go by the edge and place the charging station flat on the ground. Make sure to leave plenty of free space around it. Next, take not of its surroundings. You’ll want to make sure that the. Charging station is within at least fifty feet of an outlet. And you’ll definitely want to make sure there’s nothing of external elements around that can hard the station such as direct sunlight or sprinklers.
Step Two: Charge the Battery
You’ve got your charging station all set up and ready to go, which means your battery now has a home to do it’s thing. The battery of course should already be freshly inserted and sealed into the robot mower. Before use, you simply need to charge the battery and make sure it’s filled with a good charge for optimal use. Like with any robotic device like a smartphone, tablet, etc; it’s always great to have a full charge before the first use. The time it takes to get the battery entirely full with a robot mower is anywhere between 80-100 minutes, give or take.
Step Three: Lay the Boundary Wire
It’s time to get a bit technical and precise with this next step. By now your charging station should have it’s secure home on your property. The battery should be fully charged. And your robot mower should be ready to do it’s thing. Now comes the step where you lay the boundary wire. The boundary wire goes hand in hand with the cutting area. It’s going to act pretty much as it’s outline. You take the boundary wire and lay it out where you want the robot mower to travel. You need to secure the wire with nails (usually comes with the robot mower kit). Once the boundary wire is down, the mower will know exactly where to travel. Be sure to place the boundary wire wherever you need things trimmed and cut.
Step Four: Lay the Guide Wire
So how do you get the robot mower back to the charging station? That’s where the guide wire comes into play. The guide wire acts as a director for the mower to get back to its charging station. Take one end of the wire and bring it across the lawn so that the robot mower never has a problem finding it when it needs to charge. The other end of the wire in the opposite end of the charging station should connect with the boundary wire. Find a section to intersect the two. With this, you’ll have both the guide and boundary wire connected to the charging station for power.
If you’ve followed these steps then your robot mower should be all ready to get that grass nice and cut. You should have optimal space, charging power, and conditions for your mower to run cleanly. Remember to check the device and do regular maintenance to make sure your robot mower stays in tip-top shape for years to come. And you’ll see what a smart choice you made in buying a robot mower instead of a gas mower.

